
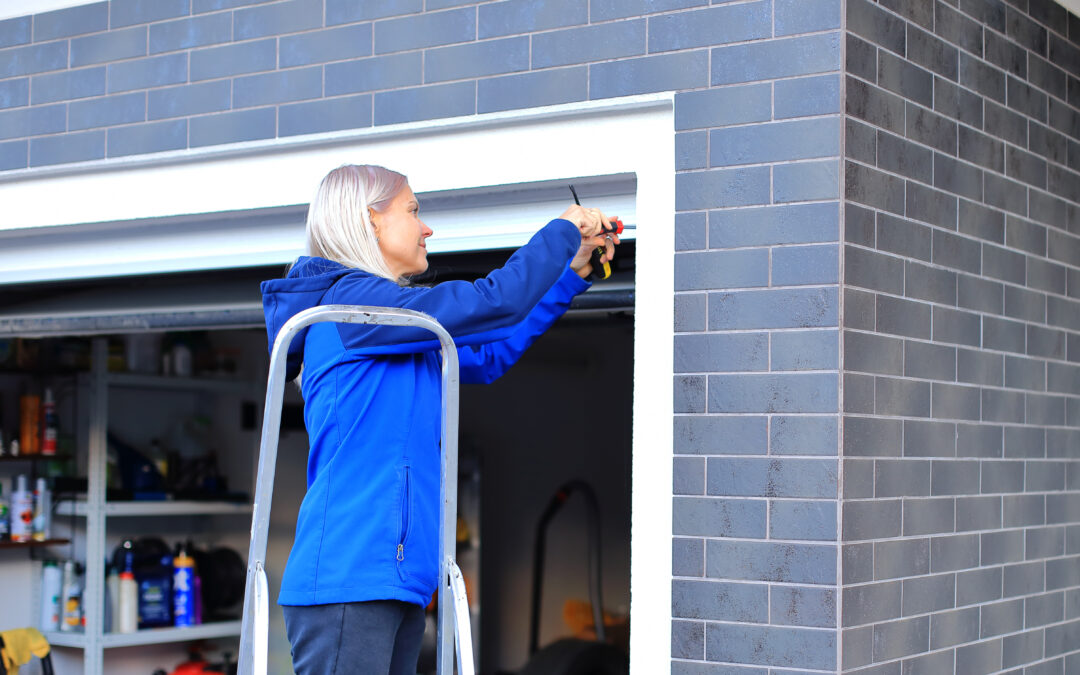
A properly sealed roller garage door needs protection at three points: the bottom where the curtain meets the floor, the sides where it runs in the guide rails and the top where it meets the box. Rubber or brush seals at each of these points stop draughts, water, dust and pests getting in, and they wear out over time, so most roller doors need a seal replaced at some point in their life.
This article covers why sealing matters, the seal types used at each point, the signs a seal needs replacing, how to fit a new bottom seal yourself and when it’s worth calling in a professional instead.
Why Do Roller Garage Doors Need Sealing?
A roller door curtain has to move freely, so there’s always a small working gap between the curtain, the guide rails and the box it coils into. In our experience, this is the trade-off every roller door makes: the same clearance that lets it roll smoothly is what lets draughts, water and debris in if it isn’t sealed properly.
- Cold air at floor level – Gaps at the bottom seal let draughts straight into the garage.
- Water ingress – Rainwater pools or tracks in along the bottom edge once a seal has perished.
- Dust, leaves and pests – These find their way in through gaps at the sides and bottom.
- Reduced insulation – On an insulated double-skinned door, air moving freely round the edges undermines the insulation you’re paying for, since the curtain can be well insulated while the gaps around it do most of the damage.
The 3 Sealing Points on a Roller Door
Every roller door has the same three vulnerable points, though the exact seal type varies by manufacturer and door age.
- Bottom seal – Fitted into a retaining channel (often a T-shaped slot) on the bottom lath, this is usually a rubber or EPDM foam profile that flexes to compensate for an uneven garage floor. Hörmann’s RollMatic, for example, uses a flexible EPDM bottom profile specifically designed to compensate for floor unevenness and seal the bottom edge.
- Side seals – Brush strips or rubber inserts fitted inside the guide rail channel, sealing the gap where the curtain’s end locks run up and down. Hörmann’s more recent RollMatic redesign added extra brush seals per guide rail specifically to improve driving rain resistance.
- Top seal – An elastic lip seal or brush strip where the curtain meets the box or lintel area, closing the gap the curtain passes through as it rolls up and down.
Single-skin steel doors and basic manual roller shutters often rely on simpler brush strips at all three points. Insulated aluminium doors tend to use a combination of rubber lip seals and brush inserts for a tighter fit.
Either way, the principle is the same: three separate seals doing three separate jobs, and each one needs to be intact for the door to be properly weathertight.
Signs Your Roller Door Needs Re-Sealing
A seal doesn’t fail all at once. It’s usually a gradual process, and there are a few reliable signs it’s time to act.
- Daylight or draughts at floor level – If you can see a strip of daylight under the closed door, or feel a draught at ankle height, the bottom seal has likely hardened, cracked or come away from its channel.
- Water pooling or tracking in – Rainwater collecting just inside the door, or a damp line along the base of the garage floor, points to a bottom seal that’s no longer compressing evenly against the ground.
- Visible wear on the rubber – Old seals go hard, brittle and cracked with age and UV exposure, and a seal in this state won’t flex to close the gap the way a fresh one will.
- Debris getting in – Leaves, dust or evidence of pests inside the garage usually means the side or bottom seals have gaps.
- Extra noise when the door operates – A seal that’s dragging, torn or loose in its channel often makes the door louder or rougher to open and close than it used to be.
How to Fit a New Bottom Seal
Bottom seals slide into a retaining channel on the bottom lath, so replacement is generally within reach of a competent DIYer. The typical process looks like this:
- Raise the door to a comfortable working height so the bottom lath is full accessible
- Remove the old seal by pulling it out of the retaining channel; on a wrap-around style seal this usually means unclipping it from the T-bar rather than sliding it out lengthways.
- Clean the channel to clear out any old rubber, dirt or debris that’s built up over the years.
- Measure and cut the new seal to the width of your door using a sharp utility knife.
- Fit the new seal into the channel, working along the full length, or clip it around the T-bar section if it’s a wrap-around type.
Exact fitting details vary by manufacturer and seal profile, since T-slot dimensions differ between brands, so it’s worth checking your door’s make before ordering a replacement rather than assuming a universal fit.
Side and Top Seals – A Simpler Retrofit
Side seals typically clip onto the vertical guide rail as a brush strip carried in a uPVC clip-on carrier, gripping the edge of the channel without needing screws or adhesive. Some installers add a compatible mastic sealant for extra security. Top seals across the head of the door usually follow the same clip-on brush principle, or use a self-adhesive foam or rubber strip that presses directly onto the frame.
Because these fit onto an external edge rather than into a load-bearing channel, they’re generally the easiest of the three seals for a homeowner to retrofit. They’re also a reasonable starting point if you’re sealing an older door that never had them.
DIY Draught-Proofing vs Professional Reseal – Where the Line Sits
Replacing a worn bottom, side or top seal with a like-for-like manufacturer part is a job most competent homeowners can do themselves with basic tools, and several UK seal suppliers design their products specifically for self-fitting. Where we’d recommend calling in a professional garage door installer instead:
- When the guide rails themselves are damaged or misaligned, since a new seal won’t compensate for a track that’s out of true.
- When the door is still under manufacturer warranty, as DIY work on some components can affect cover.
- When you can’t identify the exact seal profile for your door, since T-slot and channel dimensions vary between manufacturers and a poor-fitting seal won’t seal properly regardless of how well it’s fitted.
- When sealing is being done alongside other garage door repairs and maintenance, such as track lubrication or spring adjustment, where it’s more efficient to have one visit cover everything.
Sealing, Insulation and Your Energy Bills
Sealing and insulation do different jobs. Insulation determines how much heat passes directly through the curtain; sealing determines how much air bypasses the door altogether around its edges. A well-insulated garage door with poor seals will still lose significant heat, simply through the gaps rather than the curtain itself. The Energy Saving Trust notes that draught-proofing around doors, windows and floors can save a typical UK household in the region of £55 a year, and that draught-free homes feel comfortable at lower thermostat settings. Roller doors aren’t singled out in that guidance, but the principle holds: a poorly sealed door on an integral or attached garage is effectively a gap in your home’s thermal envelope.
Building Regulations rarely apply to a simple reseal. Part L sets thermal performance requirements for garage conversions and new builds, but for a standard existing roller door, sealing is treated as routine maintenance rather than a regulated requirement. Check current Part L guidance separately if you’re planning a conversion, since that involves thermal standards well beyond what sealing alone achieves.
Keeping Your Seals Working for Longer
A few simple habits extend the life of any roller door seal considerably.
- Clean the guide rails and bottom channel periodically, since grit and debris trapped against a seal accelerates wear and can prevent it seating properly.
- Lubricate the tracks as recommended by your manufacturer, since a door that’s dragging or binding puts extra strain on the seals as well as the mechanism.
- Check seals at the start of each season, particularly before winter, when a seal that’s marginal in summer can fail outright once temperatures drop and rubber stiffens.
- Avoid painting over rubber or brush seals, since this can cause them to harden and lose their flexibility much faster than normal wear would.
Conclusion
Keeping the bottom, side and top seals intact protects against water damage, keeps energy bills in check on an insulated door and stops the daily wear that comes from dust and grit working into the mechanism. Most replacements are within reach of a competent DIYer, provided you match the profile correctly; where the guide rails are damaged, the door’s under warranty or you’re unsure of the right part, it’s worth having it looked at professionally instead.
If your roller door needs new seals, a service, or you’re ready to replace it altogether, get in touch with our team at WM Garage Doors. We supply and install roller garage doors across the UK and can advise on the right seal or door for your home.